Excel templates are pre-formatted spreadsheets that contain data fields and formulas that match the structure and logic of Dynamics 365 entities and attributes. By using Excel templates, you can easily import bulk data into Dynamics 365 without having to manually map each column or field. You can also use Excel templates to analyze and share your data with others.
Some benefits of using Excel Import are:
- They save time by automating and organizing your tasks.
- They reduce errors by ensuring consistency and accuracy.
- They are easy to use and learn even with limited Excel knowledge.
- They are cost effective solutions to various Excel problems.
How to download an Excel template for data import
There are two ways to download an Excel template for data import in Dynamics 365:
- From the Settings page:
- Go to Settings > Templates > Document Templates > New. You must have sufficient permissions to access this page, such as System Administrator or System Customizer.

–

- From a list of records:
- For example, go to Accounts > Select a View(like Active Accounts in the image). On the menu bar, click Excel Templates > Create Excel Template.

In both cases, you need to select the entity that you want to import data for from the drop-down list, then click Download. You can use a text file, a compressed zip file, an Excel spreadsheet, or an Excel workbook to do the data import.
How to fill out an Excel template for data import
Once you have downloaded an Excel template for data import, you need to fill out the spreadsheet with your data. You can copy and paste data from another source or enter it manually.
Some columns are mandatory (marked with *), some are optional (marked with ?), and some are read-only (marked with #). You need to follow these rules when filling out the spreadsheet:
- Do not change or delete any column headers or formulas.
- Do not add any new columns or rows.
- Do not leave any blank rows between records.
- Do not use commas or other special characters in numeric fields.
- Use valid values for lookup fields (such as account name) or option set fields (such as status).
- Use date formats that match your system settings (such as MM/DD/YYYY).
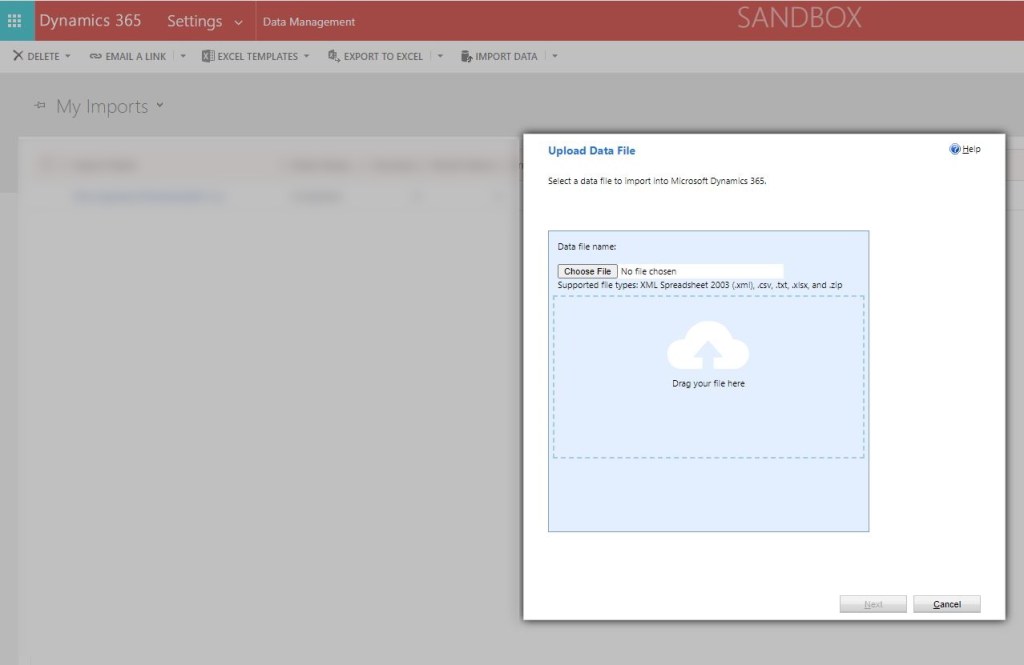
How to upload an Excel template for data import
After filling out an Excel template for data import, you need to upload it back into Dynamics 365. There are two ways to upload an Excel template for data import in Dynamics 365:
- From the Settings page:
- Go to Settings > Data Management > Imports > Import Data. Click Browse and select your file. Click Next and follow the steps in the wizard.
- From a list of records:
- For example, go to Accounts. On the menu bar, click Import Data. Click Browse and select your file. Click Next and follow the steps in the wizard.
In both cases, you need to review and confirm your settings before starting the import process. You can also check the status and results of your import by going back to Settings > Data Management > Imports.


Leave a comment